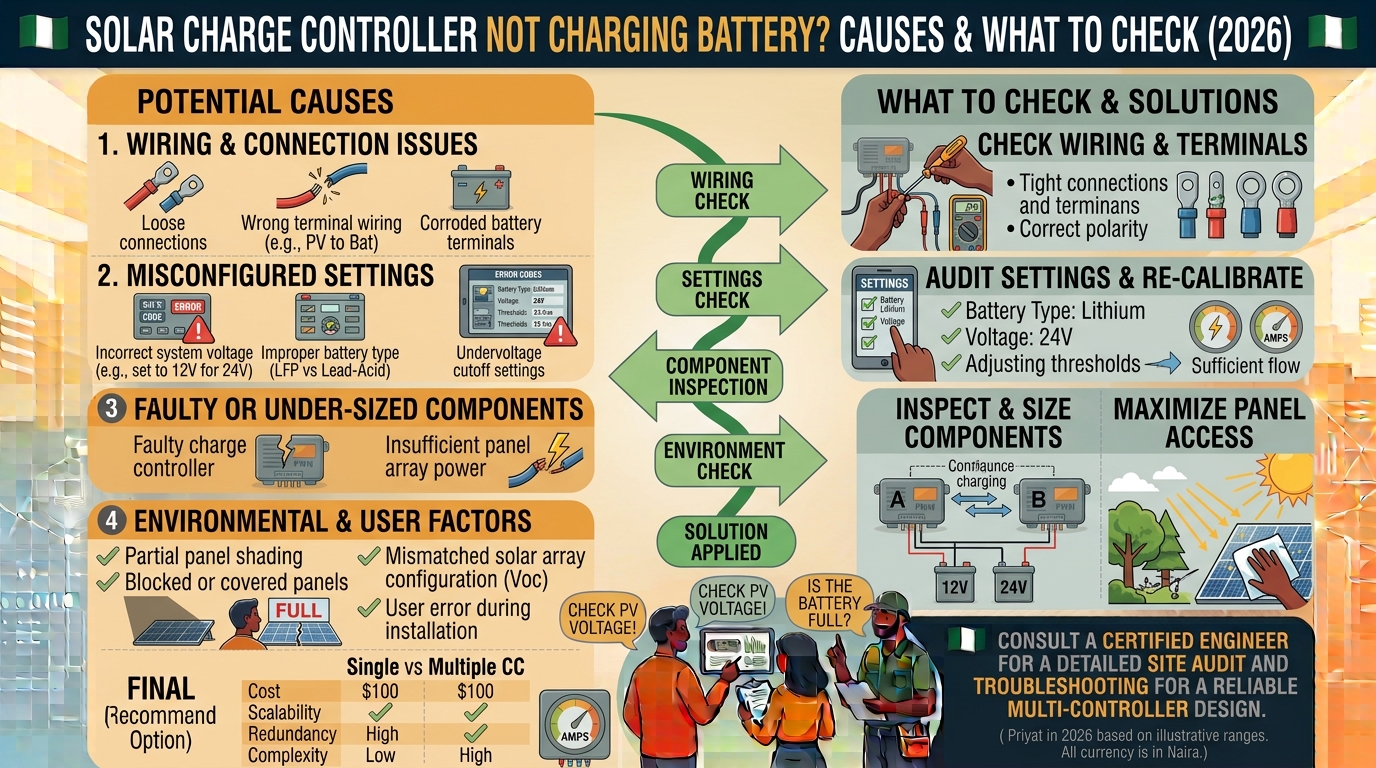
A solar charge controller can be connected properly and still show little or no charging. That does not always mean the controller is bad.
The problem can come from the solar panels, wiring, battery, controller settings, sunlight, protection devices, or even the battery being already full. Current troubleshooting guides from manufacturers and solar sources point to these as common causes.
If your solar battery is not charging, this guide will help you understand what to check before replacing any equipment.
Why Is My Solar Charge Controller Not Charging the Battery?
Some of the most common reasons include:
- Not enough sunlight
- Solar panels are shaded or dirty
- Loose or damaged cables
- Wrong polarity
- Blown fuse or tripped breaker
- Solar panel voltage is too low
- Solar panel voltage is too high for the controller
- Wrong battery type or voltage setting
- Battery is already full
- Battery is too deeply discharged
- Lithium battery BMS has stopped charging
- Charge controller is overheating
- Controller has an error or fault
- Solar power is being used by appliances instead of charging the battery
Before assuming that the controller is faulty, check these possibilities first.
1. Check If the Solar Panels Are Actually Producing Power
The first thing to check is the solar panels.
A controller cannot charge the battery if there is little or no usable solar power coming into it.
Check whether:
- The sun is available
- The panels are heavily shaded
- Something is covering the panels
- The panels are dirty
- A panel or cable has been damaged
Cloudy weather can also reduce solar production.
A controller may therefore show much less charging current on a cloudy day than it would under strong sunlight.
2. Check for Shade
Even partial shading can reduce the output of a solar array.
Look around the panels for:
- Trees
- Buildings
- Walls
- Water tanks
- Satellite dishes
- Other panels or structures
If your panels are producing much less power than expected, shading should be one of the first things you check.
3. Check the Solar Panel Connections
A loose connection between the panels and charge controller can stop or reduce charging.
Check for:
- Loose terminals
- Damaged cables
- Burnt connectors
- Poor MC4 connections
- Corrosion
- Broken cables
- Incorrect connections
A controller may still turn on while receiving little or no usable solar power.
4. Check the Battery Connection
The battery must also be properly connected.
Check:
- Positive cable
- Negative cable
- Battery terminals
- Fuse
- Breaker
- Cable condition
If the controller cannot properly detect the battery, it may not charge it.
Manufacturer troubleshooting guides commonly recommend checking the battery connection, battery voltage, polarity and protection devices when a controller does not charge.
5. Check the Polarity
Solar systems have positive and negative connections.
If the polarity is wrong, the system may not operate correctly.
Check that:
Panel positive → controller PV positive
Panel negative → controller PV negative
And:
Battery positive → controller battery positive
Battery negative → controller battery negative
Do not guess when working with electrical wiring.
If you are not trained to test or work on the system, get a qualified solar technician or electrician to do it.
6. Check the Fuse and Breaker
A blown fuse or tripped breaker can interrupt the connection between:
- Solar panels and controller
- Controller and battery
The controller may appear to be working while the battery is not receiving charge.
Check whether the relevant:
- DC fuse
- DC breaker
- Isolator
is switched on and functioning correctly.
7. Your Battery May Already Be Full
This is something many beginners misunderstand.
If the battery is already full, the charge controller may reduce the charging current or stop active charging.
That does not necessarily mean there is a problem.
Solar charge controllers normally move through charging stages such as:
Bulk → Absorption → Float
When the battery reaches the appropriate level, the controller reduces charging.
So if you look at the controller and see very little charging current in the afternoon, check the battery state before assuming something is broken.
8. Your Solar Power May Be Going Directly to Your Appliances
Another common situation is:
The solar panels are producing power, but the battery is not increasing much.
Why?
Because your appliances may be using most of the available solar power.
For example:
Solar panels produce:
1,000W
Your appliances are using:
800W
There may only be around:
200W
left for battery charging, assuming the system losses and controller limits are ignored.
If your appliances use the same amount of power the panels are producing, the battery may show little or no net charging even though the solar system is working.
9. Check the Battery Voltage
Your charge controller must be compatible with your battery system.
For example:
- 12V
- 24V
- 48V
If the controller is configured incorrectly, charging may not work as expected.
For example, a controller configured for a different battery voltage can produce charging errors or stop charging.
10. Check the Battery Type Setting
Modern controllers often allow you to select a battery type.
Depending on the controller, you may see options such as:
- AGM
- Gel
- Flooded lead-acid
- Sealed lead-acid
- Lithium
- User-defined
The correct setting matters because different batteries have different charging requirements.
If you have changed from a tubular battery to lithium, for example, don’t assume the old charging settings are still appropriate.
Always follow the battery manufacturer’s charging specifications.
11. Lithium Battery BMS May Be Protecting the Battery
If you use a lithium battery and the controller suddenly stops charging, the battery’s BMS (Battery Management System) may have disconnected or limited charging.
The BMS is designed to protect the battery from unsafe conditions.
Possible reasons include:
- Battery voltage protection
- Excessive temperature
- Excessive current
- Cell imbalance
- Very low battery condition
Some lithium batteries can therefore show little or no charging even when solar power is available.
If your lithium battery has an app or display, check its BMS status.
12. Your Solar Panel Voltage May Be Too Low
A charge controller needs suitable PV voltage to charge the battery.
If the panel voltage is too low, the controller may not be able to charge correctly.
This can happen because:
- The wrong panels were selected
- Panels were connected incorrectly
- A panel is faulty
- There is a wiring problem
- Solar conditions are poor
For MPPT controllers, the solar array must operate within the controller’s specified PV voltage range.
13. Your Solar Panel Voltage May Be Too High
The opposite problem can also happen.
If the solar array voltage exceeds the controller’s maximum PV voltage, the controller may shut down or display a PV over-voltage warning.
This is especially important when connecting several panels in series.
For example, if one panel has a Voc of 45V:
2 panels = approximately 90V Voc
3 panels = approximately 135V Voc
You cannot assume a controller that accepts 100V PV input can safely accept three of those panels in series.
Always check the panel Voc and the controller’s maximum PV voltage.
14. The Charge Controller May Be Too Small
If you have added more solar panels than your controller is designed to handle, you may have a system-sizing problem.
For example:
8 × 250W = 2,000W
That’s a 2kW solar array.
You cannot simply connect that array to any controller because it has a certain amp rating.
You need to check:
- Maximum PV power
- Maximum PV voltage
- Maximum charging current
- Battery voltage
This is why we created our:
Solar Charge Controller Calculator
It can help you estimate the controller size required for your solar array.
15. The Controller May Be Overheating
Charge controllers produce heat while operating.
If the controller becomes too hot, some models can reduce their output or enter protection mode.
Check whether the controller is:
- Installed in direct sunlight
- Inside a very hot enclosure
- Surrounded by other hot equipment
- Installed without enough ventilation
- Covered with objects
Good ventilation is important.
Don’t place a charge controller somewhere that traps heat.
16. Check the Controller Display or Error Code
If your controller has a screen or mobile app, look for:
- Battery voltage
- PV voltage
- Charging current
- Charging power
- Battery status
- Error codes
- Temperature
- Charging stage
Different manufacturers use different error codes, so always check the manual for your particular model.
For example, controller faults can include:
- Battery over-voltage
- Battery under-voltage
- PV over-voltage
- Over-temperature
- Over-current
- Short circuit
17. What If the Controller Shows Solar Power but the Battery Is Not Charging?
This is an important situation.
Suppose the display shows:
PV: 600W
but:
Battery charge: 0A
Don’t immediately conclude that the controller is bad.
Check:
- Is the battery already full?
- Is the battery BMS blocking charging?
- Is there a battery fuse problem?
- Is the battery connection secure?
- Is the battery voltage within the controller’s range?
- Is the controller configured for the correct battery type?
- Are the appliances using most of the solar power?
These checks can help narrow down the problem.
What If the Battery Charges Very Slowly?
If the battery is charging but taking much longer than expected, check:
Solar panel output
Are the panels producing their expected power?
Shading
Are trees or buildings blocking sunlight?
Dirt
Are the panels heavily dirty?
Solar array size
Is the solar array large enough for the battery?
Battery capacity
Is the battery much larger than the solar system was designed to charge?
Load
Are appliances using most of the solar power?
Wiring
Are there loose or undersized connections causing losses?
A system that never reaches its expected charging stage can be caused by insufficient solar, excessive load or problems with the PV array.
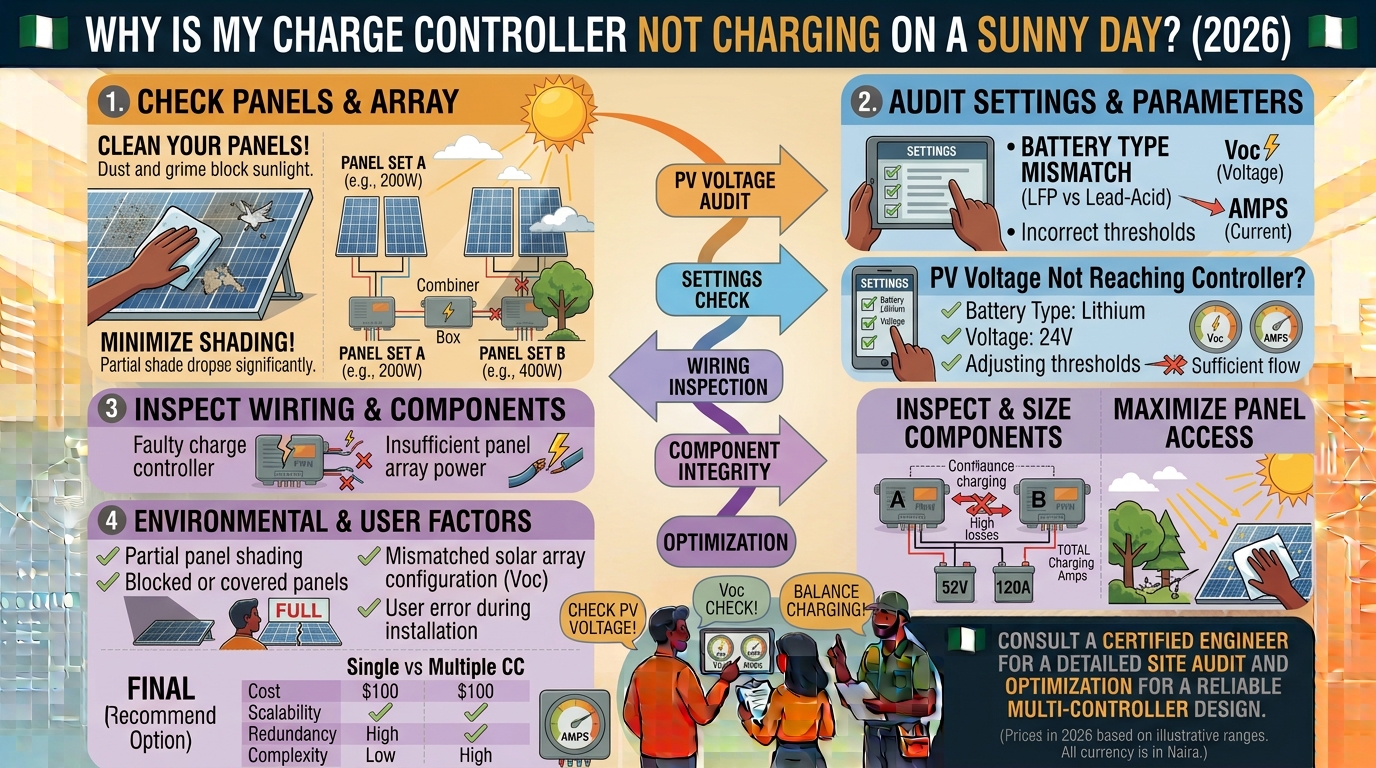
Why Is My Charge Controller Not Charging on a Sunny Day?
If it is sunny and the battery still isn’t charging, check these first:
1. Solar panel connections
2. PV voltage
3. Battery voltage
4. Fuse or breaker
5. Controller settings
6. Battery state
7. BMS
8. Controller error code
A sunny day does not automatically mean the panels are delivering their full rated power.
The actual output can still be affected by panel temperature, shading, orientation, wiring and other system conditions.
Why Is My Charge Controller Showing 0A?
There are several possible reasons.
The battery is full
The controller may have moved to float or maintenance mode.
There is little solar input
Clouds, shading or other conditions can reduce production.
PV connection problem
The controller may not be receiving usable power.
Battery problem
The battery or BMS may be preventing charging.
Wrong settings
The controller may not be configured correctly.
Protection mode
The controller may have detected an unsafe condition.
So 0A does not automatically mean the controller is faulty.
Should I Replace the Charge Controller?
Not immediately.
Before replacing it, check the simple things first:
- Solar input
- Panel connections
- Battery connection
- Fuse
- Breaker
- Battery voltage
- Controller settings
- Error codes
- Battery condition
If the controller still does not work after the system has been correctly checked, then professional testing may be needed.
Can I Test a Charge Controller Myself?
You can check basic information from the controller display or app.
However, electrical testing can be dangerous.
Measuring PV voltage and working directly on solar wiring should be done by someone who understands DC electrical systems and the risks involved. Manufacturer guidance also warns that PV voltage measurements at controller terminals should be performed by trained personnel.
Do not disconnect or reconnect solar wiring randomly while the system is producing power.
A Simple Troubleshooting Order
If your solar battery is not charging, use this order:
Step 1 — Look at the sunlight
Is there enough sunlight?
Step 2 — Look at the controller
Does it detect the solar panels?
Step 3 — Check the battery
Is the battery full, low or disconnected?
Step 4 — Check the wiring
Look for loose or damaged connections.
Step 5 — Check the fuse and breaker
Make sure they are working.
Step 6 — Check the settings
Confirm battery voltage and battery type.
Step 7 — Check for error codes
Look up the code in the controller manual.
Step 8 — Check the system size
Make sure the panels and controller are properly matched.
Step 9 — Get professional help
If the problem remains, have a qualified technician inspect the system.
Use Our Solar Charge Controller Calculator
If you discover that the problem is actually that your controller is too small for your solar panels, you can calculate the required size using our:
Solar Charge Controller Calculator
It is better to calculate the correct controller size before buying a replacement.
You can also read our guide:
What Size Solar Charge Controller Do I Need?
Check Solar Charge Controller Prices in Nigeria
If you need to replace your controller, don’t forget to check the current estimated market prices first.
Visit our:
There you can compare estimated prices for different charge controller types and sizes, including:
- PWM
- MPPT
- 20A
- 30A
- 40A
- 50A
- 60A
- 80A
- 100A+
Prices can change because of exchange rates, brand, seller and other market conditions, so treat the figures as estimates rather than fixed prices.
Don’t Forget the Rest of Your Solar System
A charge controller is only one part of a solar system.
If you are building or upgrading your system, you may also need to calculate:
Solar panels:
Use our Solar Panel Calculator
Battery:
Use our Battery Calculator
Inverter:
Use our Inverter Calculator
Installation cost:
Use our Solar Installation Cost Calculator
Final Advice
When your solar battery is not charging, don’t immediately buy a new charge controller.
Start by checking the solar input, battery, wiring, fuse, breaker and controller settings.
In many cases, the controller is not actually faulty. The problem may be that the battery is already full, the solar input is low, the system has a wiring problem, or the battery’s protection system is preventing charging.
If you are still planning your system, calculate the correct controller size before buying.
Use our Solar Charge Controller Calculator
Then check equipment prices on:
You can also use our: