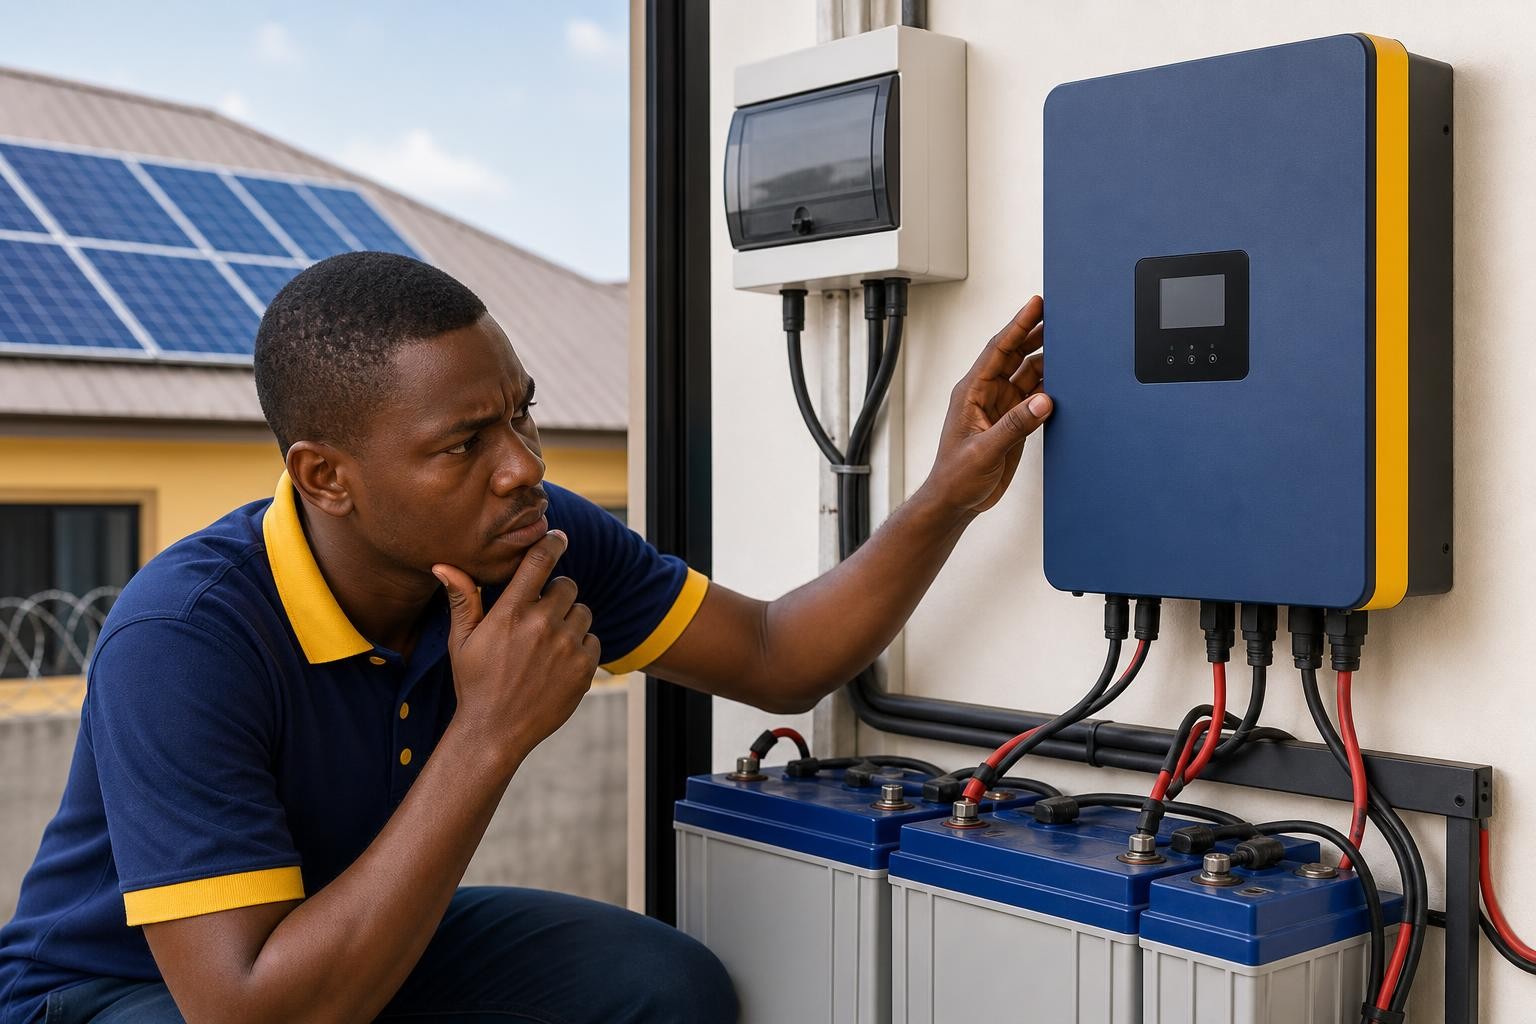
If your solar inverter is powering appliances but the battery is not charging, do not replace the inverter or battery immediately.
The problem may be a disabled charger, the wrong charging-source priority, rejected grid or generator input, low solar input, a tripped breaker, incorrect battery settings, a lithium BMS restriction, or simply that your loads are using the available power.
This guide focuses specifically on hybrid inverters and inverter/chargers—units with a built-in solar or AC battery charger. If your system uses a separate charge controller, see our guide on a solar charge controller not charging the battery.
Quick answer: why is the inverter not charging the battery?
The most common causes are:
- The unit is an inverter only and does not contain a battery charger.
- Solar, grid or generator charging has been disabled in the settings.
- The charging-source priority is set to “solar only” or another unsuitable mode.
- The inverter is not detecting usable solar input.
- Grid or generator voltage and frequency are outside the inverter’s accepted range.
- The battery fuse, breaker, isolator or cable connection is open or damaged.
- The selected battery type or charging voltage is wrong.
- The maximum charging current is set too low or to zero.
- A lithium battery’s BMS is limiting or blocking charge.
- The battery is already full, or the inverter incorrectly thinks it is full.
- Daytime appliances are using most of the available solar or AC power.
- The battery is deeply discharged, weak or faulty.
- The inverter is overheating, showing a fault or has a failed charging section.
The quickest way to narrow it down is to identify which charging source has stopped working.
First, confirm that the inverter can actually charge a battery
Not every inverter is a battery charger.
A basic inverter converts battery DC power into AC power for appliances. An inverter/charger can also use grid or generator power to recharge the battery. A hybrid solar inverter may combine an inverter, AC charger and MPPT solar charge controller in one unit.
Check the model label and manual for terms such as:
- AC charging current
- Utility charger
- Built-in MPPT
- PV input range
- Inverter/charger
If the device is an inverter only, the battery must be charged by separate equipment. Nothing may be wrong with the inverter.
Which source is failing: solar, grid or generator?

Before changing any setting, test the problem by source.
| What you observe | Where to investigate first |
|---|---|
| Solar does not charge, but NEPA/grid charges | PV breaker, panels, solar wiring, MPPT range and solar-charging settings |
| Grid does not charge, but solar charges | AC input, charging-source priority, charger enable setting and AC input limit |
| Generator does not charge, but grid charges | Generator voltage, frequency, stability, capacity and input-range setting |
| No source charges the battery | Battery breaker, fuse, cables, battery settings, BMS, battery voltage and inverter fault code |
| Charging starts and then stops | Battery full condition, BMS protection, overheating, input instability or charge limits |
| Display shows charging, but battery percentage does not rise | Heavy loads, low net charging current, inaccurate state of charge or weak battery |
This simple separation prevents you from spending hours checking the solar panels when the actual problem is the grid-charger setting—or blaming NEPA when the battery breaker is open.
1. Check the inverter display before touching the wiring
The display or monitoring app can provide the most useful first clues. Look for:
- PV voltage and PV watts
- AC input voltage and frequency
- Battery voltage and state of charge
- Battery charging current or power
- Charging mode or source
- Load power
- Warning or fault code
- BMS or battery communication status
Write down the readings and error code before restarting the inverter. Error codes are model-specific, so check the manual for the exact brand and model rather than using a code explanation meant for another inverter.
2. Check whether charging has been disabled
Some inverters can continue powering appliances even when their battery charger is disabled.
Review settings with names such as:
- Charger enable or disable
- AC charging
- Solar charging
- Charging-source priority
- Maximum utility charging current
- Maximum total charging current
A setting of 0A, “charger off” or “only solar” can explain why the battery does not charge from grid or generator power. The wording differs between manufacturers, so do not copy settings from a different model.
3. Check the charging-source priority
Many hybrid inverters let you choose how solar and utility power charge the battery. Common options include solar first, utility first, solar and utility, or solar only.
For example, if the inverter is set to solar only, the battery may not charge from NEPA or a generator even when AC power is available. If it is set to solar first, utility charging may wait until the inverter decides solar is unavailable or insufficient.
Do not confuse output-source priority with charger-source priority. One controls what powers the appliances; the other controls what charges the battery.
4. If solar is not charging, check the PV side
If grid charging works but solar charging does not, check whether the inverter is receiving usable PV power.
- Is the PV breaker or isolator on?
- Does the display show PV voltage?
- Is the PV voltage within the inverter’s MPPT operating range?
- Is the array below the maximum PV voltage and current limits?
- Are the panels shaded, dirty or damaged?
- Are any cables or connectors loose, burnt or damaged?
- Is there enough sunlight at the time of the test?
PV voltage can be present while usable solar power is still very low. The array must supply enough power for the inverter to run the daytime loads and send a meaningful remainder into the battery.
For a deeper PV diagnosis, read Why Are My Solar Panels Producing Low Power?
5. If NEPA or generator is not charging, check the AC input
An inverter/charger may reject an AC source when its voltage, frequency or waveform is outside the accepted range.
Check whether:
- The AC input breaker is on.
- The inverter display actually detects AC input.
- The AC cable is connected properly and suitably sized.
- The grid voltage is too low, too high or unstable.
- The generator frequency or voltage is unstable.
- The inverter’s AC input mode is too strict for the available generator or supply.
- The generator is large enough to power the connected loads and charge the battery at the same time.
A generator may appear to be running normally while the inverter repeatedly accepts and rejects it. Look for an AC-input icon that flashes, disappears or switches repeatedly, and check for an input warning.
Do not widen the inverter’s input range or change generator settings blindly. Confirm the allowable values in both manuals or ask a qualified technician.
6. Check the AC input and charging-current limits
The inverter may detect grid or generator power but still charge slowly—or not at all—because the current limit is too low.
Part of the incoming AC power may first supply the appliances. Only the remaining capacity is available for battery charging.
For example, if a small generator is already close to its safe output while running a freezer, television, fans and other loads, the inverter may reduce charging current to avoid overloading the source.
Check the inverter’s AC input limit, utility charge-current limit and total charge-current limit against the battery and source specifications. Do not increase them simply to force faster charging.
7. Check the battery breaker, fuse, cables and terminals
The inverter may be powered while the charging path to the battery is interrupted or unreliable.
Look for:
- An open or tripped battery breaker
- A blown battery fuse
- A battery isolator in the off position
- Loose terminals or cable lugs
- Corrosion
- Burn marks, melted insulation or hot connections
- Incorrect polarity
- Damaged or undersized battery cables
Do not replace a fuse with a larger rating because it keeps blowing. A repeated trip or blown fuse may be warning you about a serious fault.
8. Check the battery type and charging profile
The inverter must use charging settings suitable for the connected battery.
Important settings can include:
- Battery type or chemistry
- Battery-bank voltage
- Bulk or absorption voltage
- Float voltage
- Maximum charge current
- Equalisation setting
- Low- and high-voltage limits
A tubular, AGM, GEL or lithium battery should not be given random settings copied from another battery. Use the exact battery manufacturer’s instructions.
Be especially careful with equalisation. A setting intended for some flooded lead-acid batteries may be unsuitable for GEL, AGM or lithium batteries.
9. Check lithium battery BMS and communication
A lithium battery’s Battery Management System can reduce or stop charging to protect the cells.
Possible causes include:
- High or low cell voltage
- Excessive charging current
- High or low battery temperature
- Cell imbalance
- A deeply discharged battery
- Incorrect or missing communication cable
- Wrong battery protocol selected in the inverter
- An unsupported inverter-battery combination
Check the battery screen, app or status lights as well as the inverter. The inverter may report “battery full” or “charge disabled” because that is what the BMS is commanding.
Do not bypass the BMS. Confirm the communication port, cable pinout, protocol and compatibility using the manufacturers’ documentation.
10. The battery may already be full
Charging current normally reduces as a battery approaches its target voltage or state of charge. A low current reading is therefore not always a fault.
However, an incorrect setting, poor state-of-charge calibration or voltage rise caused by a weak connection can make the inverter think the battery is full before it really is.
If the display says 100% but backup time is unusually short, investigate the battery condition, monitoring calibration, cable connections and charging settings.
11. Your appliances may be using the available charging power
What matters is net power into the battery, not just the power coming from the panels.
Suppose your panels are producing 2,000W while the home is using 1,600W. The difference is only 400W before inverter, controller, cable and battery-charging losses.
If the load rises above solar production, the battery may continue discharging even in bright sunlight.
Switch off large daytime loads temporarily and watch whether battery charging increases. Common examples include air conditioners, pumps, kettles, pressing irons, freezers and water heaters.
If the system regularly lacks enough energy to run daytime loads and recharge the battery, use the Solar Panel Calculator to review the array size.
12. The battery may be deeply discharged, weak or faulty
A battery that has fallen below the inverter’s detection or charging threshold may not restart normally. Some lithium batteries may also disconnect through the BMS after a very deep discharge.
Do not force a deeply discharged battery with random voltage or current settings. Follow the battery manufacturer’s recovery procedure or have it tested with suitable equipment.
A weak battery may appear to charge quickly because its voltage rises, then lose power quickly when a load is connected. That can indicate reduced capacity, but proper testing is needed before condemning it.
For broader battery-side checks, see Why Is My Solar Battery Not Charging?
13. The inverter may be overheating or protecting itself
An inverter can reduce or stop charging when it becomes too hot or detects another unsafe condition.
Check for:
- Blocked ventilation openings
- Dust buildup
- A failed or noisy cooling fan
- Installation in a hot enclosed space
- Direct exposure to strong heat
- Heavy continuous load
Allow safe ventilation around the inverter. Do not cover it to reduce fan noise.
14. The inverter’s charging section may be faulty
If the battery, protection devices, settings, PV input and AC input have all been checked, the built-in charger or MPPT section may have a fault.
Signs that need professional testing include:
- No charging from any source despite correct inputs and settings
- A persistent charger, MPPT or internal fault code
- Repeated relay clicking
- Charging that cuts in and out with stable input power
- Burning smell, smoke or visible heat damage
Do not open the inverter unless you are authorised and qualified to repair it. Internal components can remain dangerous even after external power has been switched off.
A practical troubleshooting order
- Confirm the equipment type: inverter only, inverter/charger or hybrid inverter.
- Identify the failed source: solar, grid, generator or all sources.
- Read the display: record PV, AC input, battery, load and error information.
- Check charging settings: charger enable, charging-source priority and current limits.
- Check the relevant input: PV input for solar, or voltage and frequency for grid/generator.
- Check battery protection: breaker, fuse, isolator, cables and terminals.
- Check battery configuration: chemistry, voltage, charging profile and current.
- For lithium, check the BMS: temperature, protection status, communication and protocol.
- Reduce the loads: see whether more power begins flowing into the battery.
- Get professional testing: if the fault remains or any dangerous symptom is present.
When should you call a solar technician?
Stop using the system and get professional help if you notice:
- Smoke, sparks or a burning smell
- A swollen, leaking or unusually hot battery
- Melted cables, burnt terminals or very hot connections
- A breaker that repeatedly trips or fuse that repeatedly blows
- A serious BMS, overvoltage or short-circuit fault
- Repeated relay clicking or inverter shutdown
- A need to test live PV strings or high-current battery cables
Solar panels can continue producing dangerous DC voltage whenever they receive light. Large battery banks can also deliver extremely high fault current. Basic display checks are reasonable for many users, but live electrical measurements should be left to someone trained for the work.
Frequently asked questions
Why does my inverter power the house but not charge the battery?
The charger may be disabled, the charging current may be set to zero, the source priority may exclude the available input, or the appliances may be consuming the available power. Also confirm that the unit is an inverter/charger rather than an inverter only.
Why does the battery charge with solar but not with NEPA?
Check whether AC charging is enabled, whether the charging-source priority is set to solar only, and whether the inverter is accepting the grid voltage and frequency. Also check the AC breaker and input-current limit.
Why does the battery charge with NEPA but not with solar?
The PV breaker may be off, the solar array may be producing too little power, or its voltage may be outside the inverter’s MPPT range. Shading, wiring faults, damaged connectors and unsuitable panel configuration can also cause this.
Can wrong battery settings stop charging?
Yes. The wrong battery type, charge voltage, current limit or communication protocol can reduce or stop charging. Use the specifications for the exact battery and inverter.
Should I reset the inverter?
A restart may clear a temporary error, but it does not repair a bad connection, wrong setting, unstable input, weak battery or internal fault. Record the displayed error first and follow the manufacturer’s shutdown and restart procedure.
Check whether the system is properly sized
If the inverter and battery are working but the battery rarely reaches full charge, the system may not have enough solar capacity for both the daytime loads and overnight energy use.
Use the Solar Calculator to review the whole system, the Battery Calculator to estimate storage and backup time, and the Solar Panel Calculator to estimate the array needed for your loads and battery recharge.
If you are checking whether the inverter itself is large enough for your appliances, use the Inverter Calculator.
Final advice
When a solar inverter is not charging the battery, start by asking two questions:
- Is this inverter designed to charge the battery?
- Which charging source—solar, grid or generator—is failing?
Then check the display, charging settings, source priority, input power, battery protection, battery profile, BMS status and daytime loads.
Do not change charging voltages or bypass protection systems just to make charging start. The correct solution depends on the exact inverter, battery and charging source.
If the basic checks do not identify the cause—or you see overheating, repeated trips, damaged wiring or a serious fault—have a qualified solar technician test the system before replacing expensive equipment.